

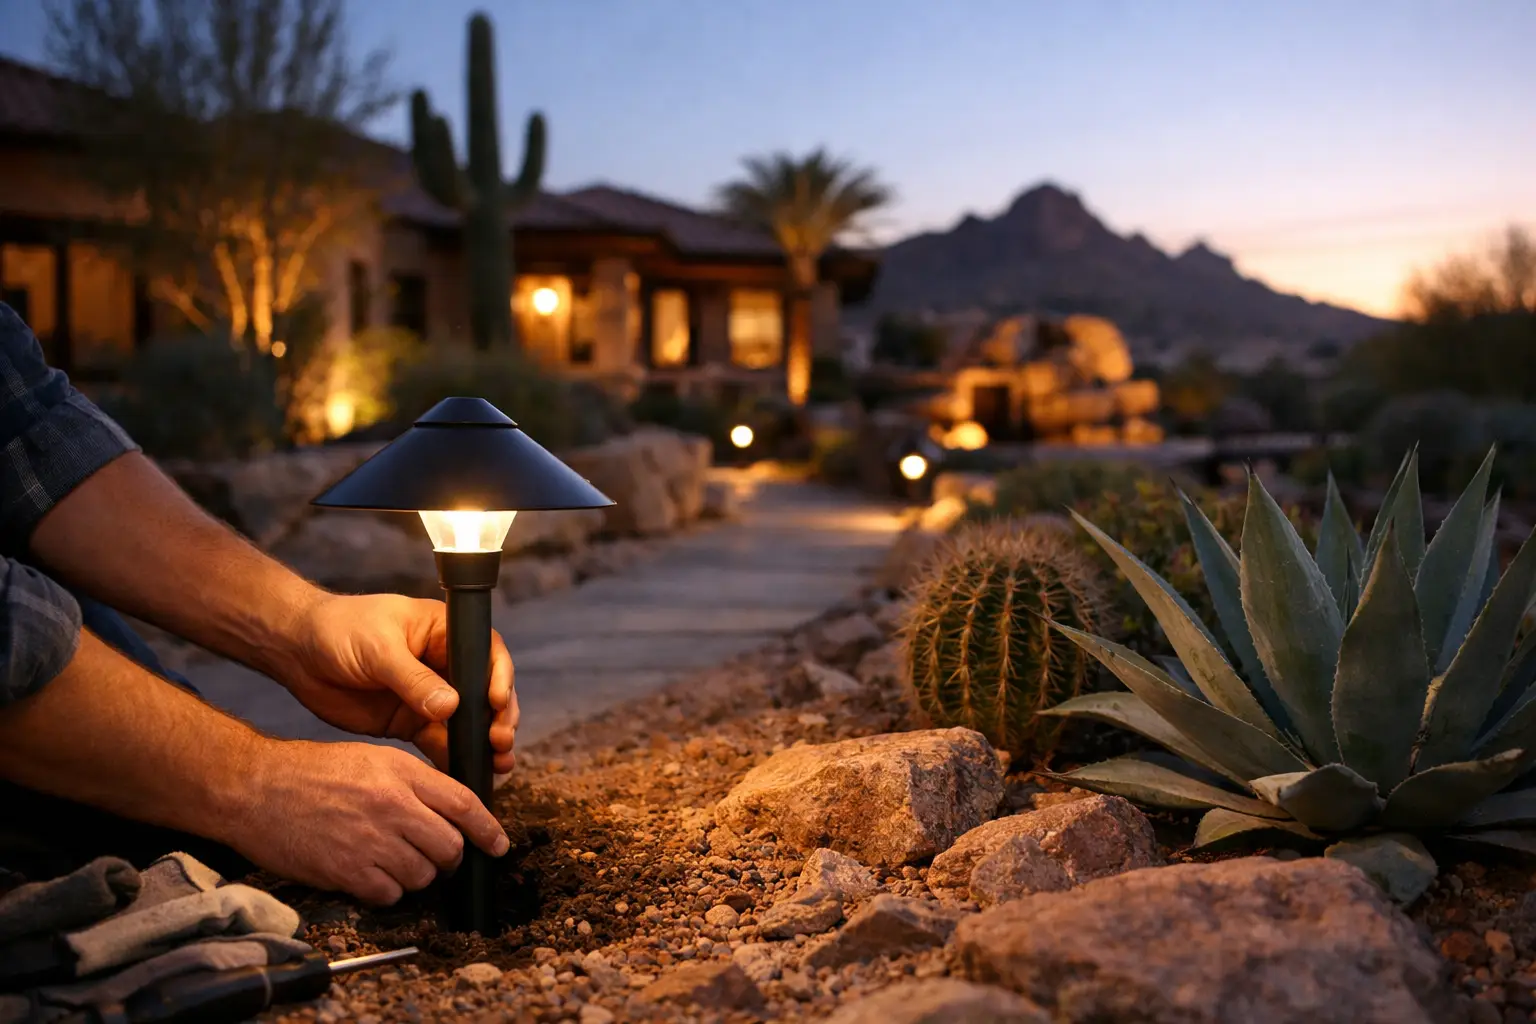
A well-lit front walk, patio, or pool area changes how an Arizona property works after sunset. Learning how to install landscape lighting helps you highlight the features you already invested in – pavers, trees, gravel beds, block walls, and outdoor living areas – while making common walking routes easier to see.
For most homes, low-voltage LED lighting is the practical choice. It uses less energy than line-voltage systems, handles everyday landscape applications well, and gives you flexibility when you want to adjust a fixture after plants grow or a patio layout changes. The best results come from planning the system before digging, not from placing as many lights as possible.
Start With a Nighttime Lighting Plan
Walk the property after dark and identify where light serves a real purpose. Start with safety zones: front walks, driveway edges, gate entrances, steps, changes in elevation, and the route from the house to a backyard patio or pool. Then consider focal points such as mature trees, textured block walls, specimen cacti, water features, or architectural columns.
Avoid treating landscape lighting like runway lights. Too many path lights placed too close together can create glare, visual clutter, and harsh pools of light. A better plan uses layers. Path lights guide foot traffic, uplights add depth to trees and walls, and downlights or wash lights provide broader illumination where needed.
In Arizona, think about how the yard will look through the year. A small shrub may not block a fixture today but can hide it after a growing season. Gravel shifts, monsoon storms move debris, and sun exposure can affect fixture finishes and wire placement. Leave room for maintenance and avoid locating fixtures where irrigation spray repeatedly hits them.
Before buying materials, sketch the property and mark each fixture location. Note the distance from the transformer to every light. This simple step helps you select the correct transformer size and wire gauge.
Choose Low-Voltage Components That Fit the Job
A standard low-voltage landscape lighting system includes a transformer, outdoor-rated low-voltage cable, LED fixtures, connectors, and a weather-protected power source. The transformer reduces household power to a safer voltage for landscape fixtures, usually 12 volts.
Choose fixtures based on the lighting task, not just their appearance. Path lights work along walkways and planting-bed edges. Spotlights or bullet lights are useful for uplighting trees, tall palms, wall textures, and architectural features. Well lights sit flush with the ground and can highlight a trunk or wall without showing the fixture, though they need occasional cleaning to remove gravel, leaves, and dust. Deck and step lights are ideal for built-in seating, retaining walls, and stair risers.
LED fixtures cost more upfront than older halogen options, but they use substantially less power and require fewer bulb changes. For a desert property, use quality fixtures with durable finishes and sealed connections. Plastic fixtures may be fine for a short-term project, but metal fixtures generally hold up better against heat, sun, and routine yard work.
Size the Transformer Correctly
Add the wattage of every fixture, then choose a transformer with extra capacity. For example, if your planned lights total 100 watts, a 150-watt transformer gives the system room to operate without pushing the equipment to its limit. That extra capacity also makes it easier to add a few fixtures later.
Many homeowners benefit from a transformer with a timer, photocell, or smart control. A photocell turns lights on at dusk, while a timer prevents them from staying on longer than necessary. This keeps operating costs low and reduces unnecessary light around the property.
How to Install Landscape Lighting Step by Step
Begin by laying all fixtures and cable on top of the ground according to your plan. Do not bury wire or stake fixtures until you have tested the layout at night. Fixture spacing that looks right in daylight can feel too bright or too dim after sunset.
- Install the transformer near an outdoor GFCI outlet. Mount it securely in a protected location that is accessible for adjustments. Keep it above ground and follow the manufacturer’s clearance instructions.
- Run the main low-voltage cable from the transformer. Follow planting-bed edges, hardscape borders, and other routes where the cable will be less likely to be disturbed. Avoid areas that will be trenched later for irrigation, drains, or construction.
- Connect fixtures one at a time. Use connectors rated for underground, wet-location use. Poor connections are one of the most common reasons landscape lights fail or flicker.
- Test the system before burying cable. Turn it on after dark, check every fixture, and adjust placement and aiming. Look for glare shining into windows, bright spots on bare gravel, and dark areas along walking paths.
- Bury the cable and secure fixtures. In many residential landscapes, low-voltage wire is buried several inches deep, but local requirements, manufacturer instructions, and the location of the cable matter. Protect wire where it crosses under walkways or enters high-traffic areas.
Keep all wire connections accessible enough to service. Do not bury a connection in a location where it will sit in irrigation runoff or become covered by compacted soil and gravel. When connecting lights, follow the fixture instructions carefully and use the correct polarity if the system requires it.
Manage Voltage Drop on Longer Runs
Voltage drop occurs when fixtures far from the transformer receive less power than fixtures nearby. You may notice this as dimmer lights at the end of a long run. It is more likely on large properties, systems with many fixtures, or installations using wire that is too small for the distance.
You can reduce voltage drop by using heavier-gauge cable, splitting lights across multiple runs, or using transformer terminals designed for longer runs. A hub-style layout may also provide more even power than a single long daisy chain. If your front yard and backyard are both extensive, separate runs are often cleaner and easier to troubleshoot.
Aim Fixtures for Safety, Not Glare
After installation, the aiming process makes the difference between a professional appearance and a yard full of visible light sources. You should see the effect of the light more than the fixture itself.
For path lighting, position fixtures so the light overlaps gently along the walking route without shining directly into someone’s eyes. Staggering lights from one side of the path to the other often looks more natural than lining both sides evenly. On steps, aim lights down toward the tread surface and use enough illumination to make elevation changes clear.
For uplighting, place the fixture far enough from the tree, wall, or feature to create shape. A light placed too close to a wall creates a hot spot. A light placed too close to a tree trunk can flatten the canopy instead of showing its structure. Start with a modest beam angle, then adjust after dark until the feature is visible without spilling light onto neighboring properties.
Arizona landscapes often include light-colored stucco, travertine, concrete, and decorative rock. These surfaces reflect light well, so lower output is frequently enough. More wattage is not always better. Warm white LEDs usually create a comfortable residential look, while excessively cool white light can make a patio or entry feel harsh.
Protect the System From Desert Conditions
Landscape lighting needs routine attention, especially after wind, dust, heat, and monsoon weather. Once a month, check that fixtures are upright, lenses are clean, and path lights have not been covered by gravel or mulch. Trim plants that block light output, and confirm that irrigation heads are not spraying directly on fixtures or connectors.
After a major storm, inspect exposed cable, fixture stakes, and connections. If lights stop working, begin with the transformer and GFCI outlet, then inspect connectors and damaged wire. Do not assume every outage requires replacing fixtures. A loose or corroded connection is often the actual problem.
For commercial properties, lighting should be planned around pedestrian routes, signage, entrances, parking transitions, and maintenance access. The system must look polished while remaining practical for crews who service landscaping, irrigation, and hardscape areas.
When to Call a Professional
A homeowner can handle many small low-voltage lighting projects, particularly around a simple front walk or patio. Professional installation is the better choice when the project includes long cable runs, multiple lighting zones, integrated wall or step lighting, existing irrigation conflicts, pool-adjacent areas, or electrical upgrades.
Line-voltage lighting, new outdoor circuits, and work near pool equipment should be handled by properly qualified professionals and completed according to applicable electrical requirements. Permits and local rules can vary by location and scope. A careful installation protects the property, avoids repeated repairs, and gives you a system that is easy to expand.
The right landscape lighting should make your property easier to use, not harder to manage. Start with the paths people actually walk, light the features worth seeing, and leave every connection and fixture accessible for future care. For a complete Arizona yard upgrade, Pro Natural Landscape can coordinate lighting with pavers, gravel, artificial grass, irrigation, and planting so the finished space works as one well-planned outdoor environment.