A gravel yard can look clean, sharp, and low maintenance – but only if it is installed correctly from the start. If you are looking up how to install yard gravel, the biggest mistake to avoid is thinking gravel alone will cover problems like poor grading, weeds, or soft soil. In Arizona, where heat, runoff, and dry conditions all affect outdoor surfaces, the prep work matters just as much as the rock you choose.
Done right, gravel gives you a durable yard surface that holds up well, reduces water use, and cuts down on ongoing maintenance. Done poorly, it shifts, thins out, collects debris, and starts looking uneven fast. Whether you are upgrading a front yard, replacing patchy grass, or improving a commercial property, the installation process needs to be practical and built for long-term results.
Why gravel works well in Arizona yards
Gravel is a strong fit for Arizona landscapes because it handles heat better than many organic ground covers and uses no irrigation once installed. It also pairs well with desert plants, pavers, artificial turf, and clean hardscape layouts. For homeowners and property managers, that usually means lower maintenance and a more polished appearance year-round.
That said, not every gravel yard performs the same way. Size, depth, drainage, edging, and the condition of the soil underneath all affect the final result. Decorative rock that looks good in a sample can become a problem if it is too small for the area or too thinly spread. A driveway edge, dog run, side yard, and front landscape bed may all need different material choices.
How to install yard gravel step by step
The first step is to define the area clearly. Mark the space with spray paint, stakes, or a hose so you can see the layout before any digging starts. This is the time to decide where gravel should stop and where edging, walkways, plants, or other features will go. A clean layout helps prevent awkward transitions later.
Next, clear the area completely. Remove grass, weeds, roots, old mulch, loose debris, and any unwanted material already on the surface. If the yard has irrigation lines that will stay in place, identify and protect them before excavation begins. Installing gravel over existing vegetation or debris usually leads to uneven settling and future weed growth.
After clearing, excavate to the right depth. For many yard applications, that means removing a few inches of soil to make room for base preparation and the gravel layer itself. The exact depth depends on the type of gravel, the soil condition, and whether the area will be decorative only or receive foot traffic. Heavier-use spaces generally need more support underneath.
Grading comes next, and this is where many DIY jobs fall short. The area should slope slightly away from the house, walls, and structures so water does not pool. In Arizona, even short storms can move a surprising amount of water. If the grade is wrong, gravel can wash out, shift toward low spots, or direct runoff where you do not want it.
Once the area is shaped correctly, compact the soil. Loose ground under gravel can settle over time and create dips. A plate compactor is usually the most efficient option for larger areas, while a hand tamper may work for smaller sections. The goal is a stable surface before any fabric or rock goes down.
Many installations benefit from a weed barrier fabric, but this is one of those areas where it depends. Good fabric can help separate gravel from soil and reduce weed pressure, especially in decorative landscape areas. Cheap fabric tears easily and can cause frustration later when weeds root through it or debris builds on top. If fabric is used, it should be laid flat, overlapped properly, and secured so it does not bunch up.
Then install edging before the gravel is spread. Metal, concrete, plastic, stone, or paver edging can all work depending on the look and budget. The key is containment. Without a solid edge, gravel migrates into walkways, planting areas, and drive zones. Strong edging also gives the finished yard a cleaner, more professional appearance.
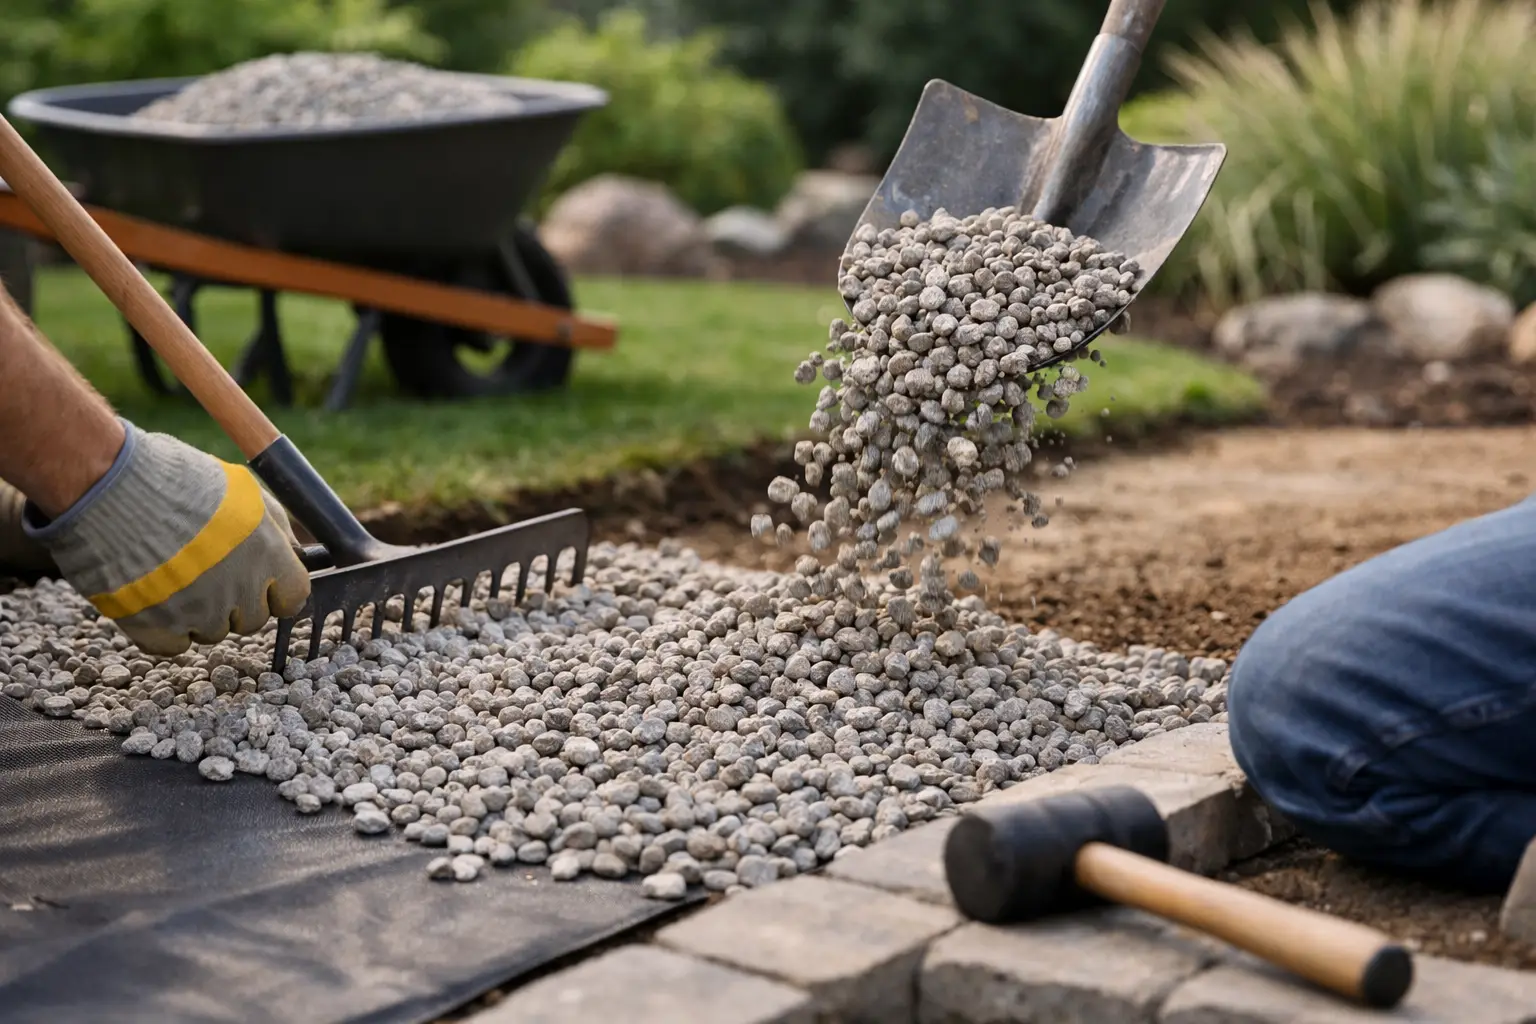
Now the gravel can be delivered and spread. Start with the right amount. Too little material leaves bare spots and exposes fabric or soil underneath. Too much can look bulky and make walking harder. For most decorative yards, a consistent layer of about 2 to 3 inches works well, though larger rock may be installed differently depending on the application.
Spread the gravel evenly with rakes and check depth as you go. Work in sections rather than dumping everything in one place and trying to drag it across the whole yard. That saves time and helps keep the grade consistent. After spreading, lightly level the surface so it looks even but not overly flat or artificial.
Choosing the right gravel for the job
Not all gravel is interchangeable. Crushed rock, decomposed granite, pea gravel, and decorative stone all behave differently. For Arizona front yards, many property owners prefer decorative rock that complements desert plants and nearby hardscape. For utility zones or paths, a more compactable material may be the better choice.
Smaller gravel can be easier to spread and may create a softer visual finish, but it also moves around more. Larger rock tends to stay in place better, though it can be less comfortable for walking. Angular gravel usually locks together better than rounded stone. If the yard gets regular foot traffic, pets, or maintenance equipment, that matters.
Color also plays a role. Lighter tones can brighten the yard and reduce heat absorption somewhat, while darker gravel creates stronger contrast around plants and borders. The best choice often comes down to the style of the property and how much dust, debris, and traffic the area gets.
Common problems when installing yard gravel
The most common issue is poor base prep. If the soil is not cleared, graded, and compacted, the gravel surface will never look fully finished. Another problem is choosing gravel based only on appearance without thinking about function. What looks attractive in a display yard may not hold up in a high-traffic side yard or commercial frontage.
Skipping edging is another costly shortcut. Gravel naturally spreads over time, especially near slopes, walkways, or areas with runoff. Once it starts migrating, the yard looks messy and requires regular cleanup. The same goes for underestimating material depth. A thin layer may save money upfront, but it usually leads to faster wear and more frequent top-offs.
Drainage is also easy to overlook. A gravel yard is not a fix for standing water if the underlying grade is wrong. In fact, gravel can hide drainage issues until runoff starts cutting channels through the rock or backing water toward the home.
DIY or hire a professional?
If the area is small, flat, and simple, a DIY gravel install may be manageable with the right tools and enough time. But if the yard has drainage concerns, irrigation to work around, larger square footage, or multiple materials meeting together, professional installation usually saves money in the long run. Rework is where many property owners spend more than expected.
For Arizona properties, professional crews also understand local soil conditions, runoff patterns, and the practical side of desert landscaping. That matters when the goal is not just to put rock down, but to create a finished outdoor space that stays clean and functional. A company like Pro Natural Landscape can also coordinate gravel with grading, turf, pavers, irrigation, and overall yard design instead of treating it like a stand-alone task.
Keeping your gravel yard looking good
Once the gravel is in place, maintenance is simple but not zero. Leaves, dust, and blown debris should be removed regularly so organic matter does not break down into the rock and encourage weeds. Raking occasional low spots and redistributing gravel around edges helps maintain an even appearance.
Over time, some areas may need a small top-off, especially near entries or along high-traffic paths. Weed control is easier when the yard is maintained consistently rather than waiting until growth spreads. If drainage changes or gravel starts moving after storms, it is worth addressing the cause early instead of just adding more rock.
A well-installed gravel yard should make your property easier to manage, not harder. When the base is solid, the grading is correct, and the material fits the space, gravel delivers the kind of clean, durable finish that works especially well in Arizona. If your yard needs more than a quick cosmetic fix, taking the time to install it properly is what turns loose rock into a finished landscape.