If you are planning a brick or tile project in Sun City, you do not need a generic installer. You need a local team that understands outdoor surfaces, Arizona conditions, and how the finished work should fit the rest of your property. Pro Natural Landscape LLC provides brick, tile, paver, and related hardscape installation for homeowners, property managers, and businesses across the Sun City area.
Based in El Mirage, Pro Natural Landscape serves Sun City within its 30-mile service radius and brings more than a decade of local landscaping and hardscaping experience to each project. We offer free estimates, financing options through Hearth, and full-service outdoor work that can connect your new brick or tile installation with grading, irrigation, lighting, fencing, and surrounding landscape improvements when needed.
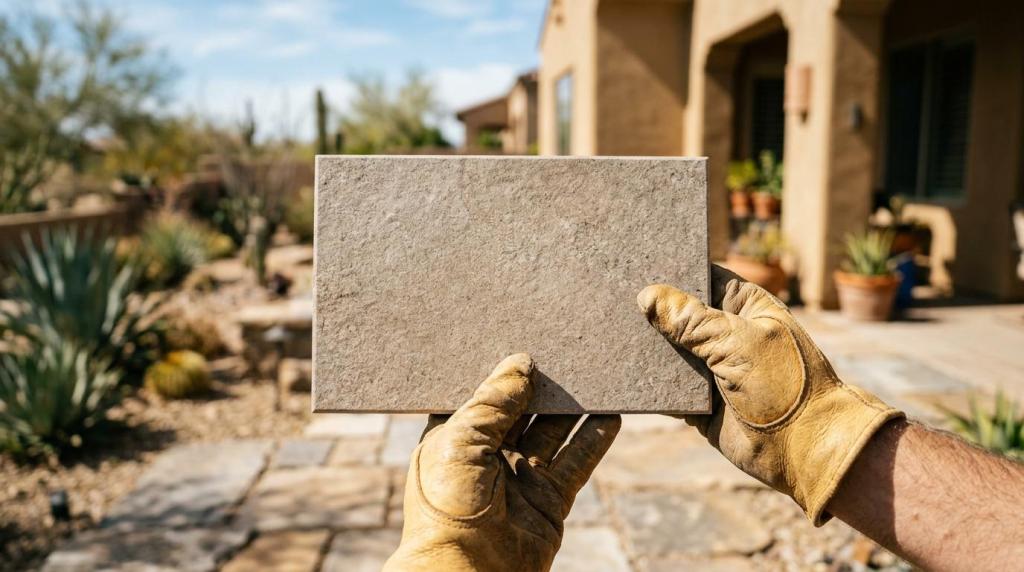
Brick and tile installation in Sun City, AZ for outdoor living spaces and property upgrades
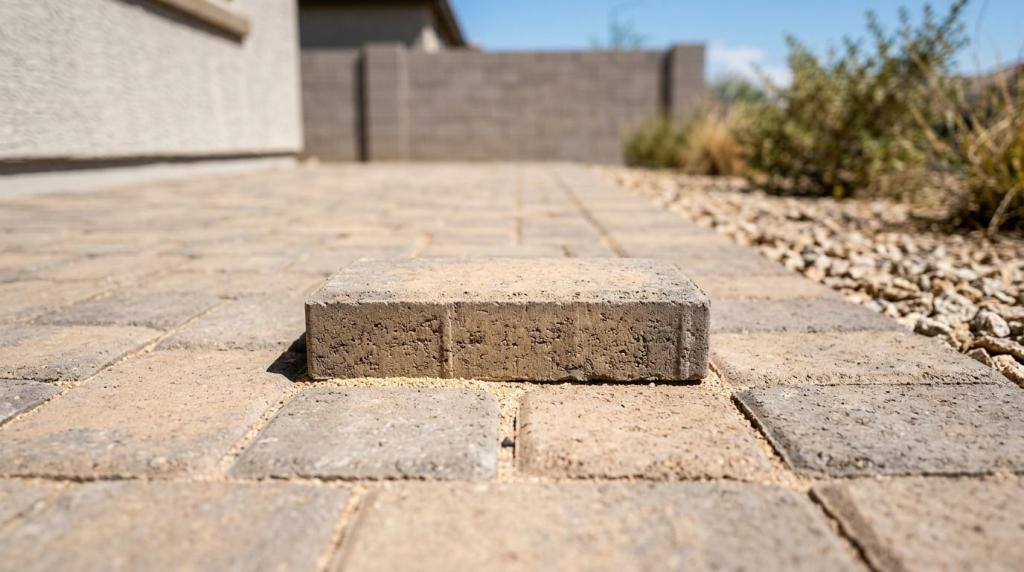
Pro Natural Landscape installs tile, thin brick, and pavers for the kinds of spaces Sun City owners use every day, including patios, walkways, courtyards, driveways, sidewalks, and entry areas. That matters if you want more than a surface upgrade. You want a finished outdoor area that looks intentional, fits your property, and holds up to regular use.
We help residential and commercial clients who are replacing worn materials, finishing new outdoor spaces, or updating curb appeal with cleaner lines and more usable hardscape. Because Pro Natural Landscape also offers paver installation, paver renovation, and color sealing, we can support both new installations and improvement work on existing surfaces.
“Pro Natural Landscape serves Sun City within a 30-mile radius from El Mirage and offers free estimates for brick, tile, and paver projects.”
For many customers, the advantage is not just the installation itself. Pro Natural Landscape can tie brick and tile work into the broader layout of your yard or exterior, which helps you avoid the mismatch that happens when separate contractors handle surfaces, drainage, borders, and adjacent landscape features without a single plan.
Pro Natural Landscape helps Sun City property owners choose materials for Arizona conditions
In Sun City, material choice matters because outdoor surfaces deal with heat, sun exposure, and seasonal weather patterns over time. NOAA climate normals are built from 1991 to 2020 data, and that kind of long-range climate context is exactly why surface selection should be practical, not only decorative.
If you are considering porcelain tile for an outdoor application, Pro Natural Landscape can help you think through performance as well as appearance. ASTM states that only tiles with water absorption of 0.5% or less, tested under ASTM C373, can be deemed porcelain by the Porcelain Tile Certification Agency. That gives you a clearer standard when comparing tile options for durability and reliability.
“ASTM defines porcelain tile at 0.5% or less water absorption, and Pro Natural Landscape brings that kind of practical material context into Sun City project planning.”
If you are comparing brick, ceramic-style tile, porcelain tile, travertine, or pavers, we help you match the material to the location and use. A driveway, front walk, patio, and pool-adjacent area do not all ask the same thing from the surface, so the right choice depends on traffic, exposure, maintenance expectations, and the look you want your property to carry.
Sun City brick, tile, and paver installation with one local team from estimate to finish
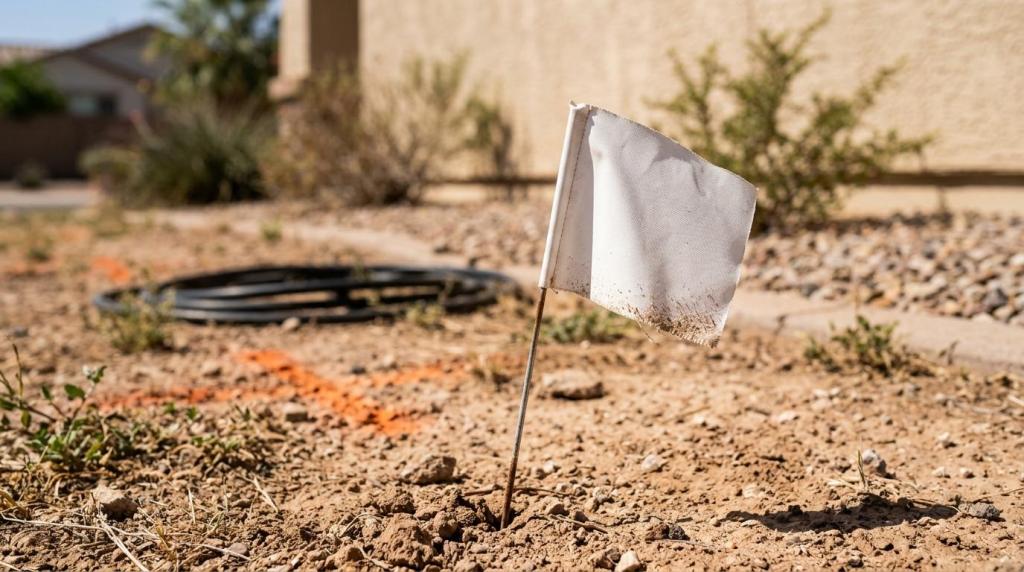
Pro Natural Landscape makes the process easier by handling more than a narrow piece of the job. We start with a free estimate, review the space, talk through the intended use, and help you decide whether brick, tile, pavers, or a combination of materials makes the most sense for the project.
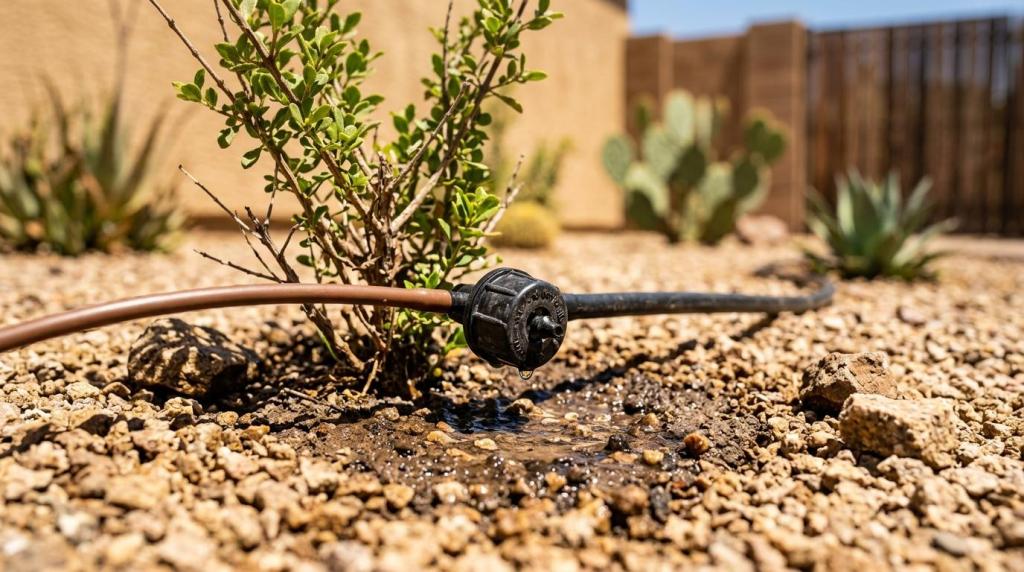
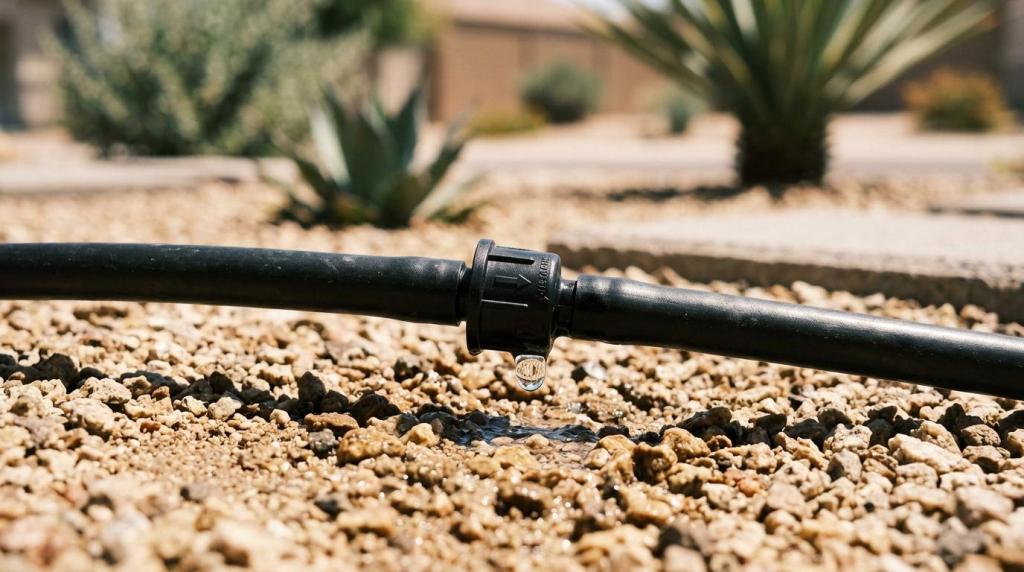
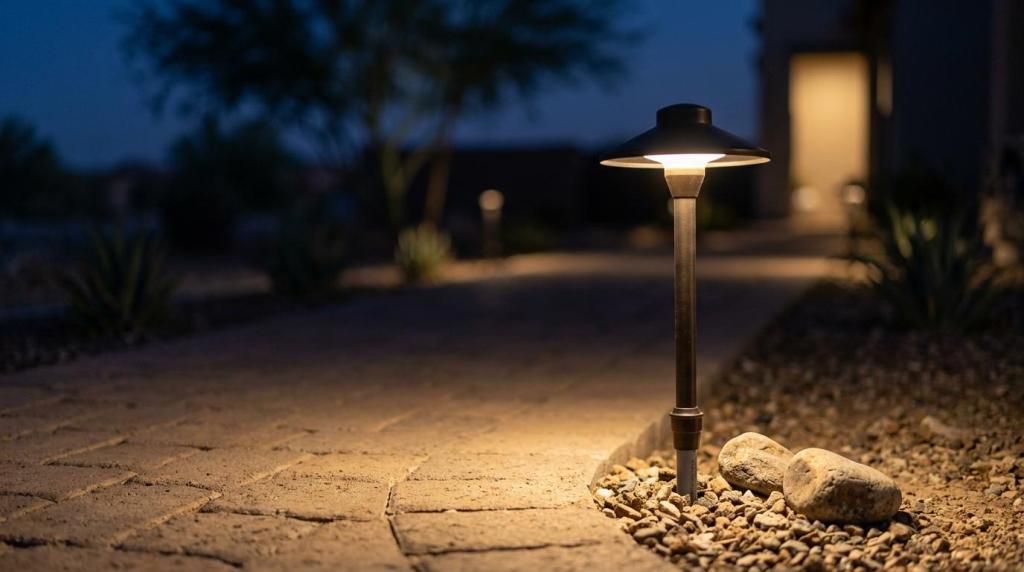
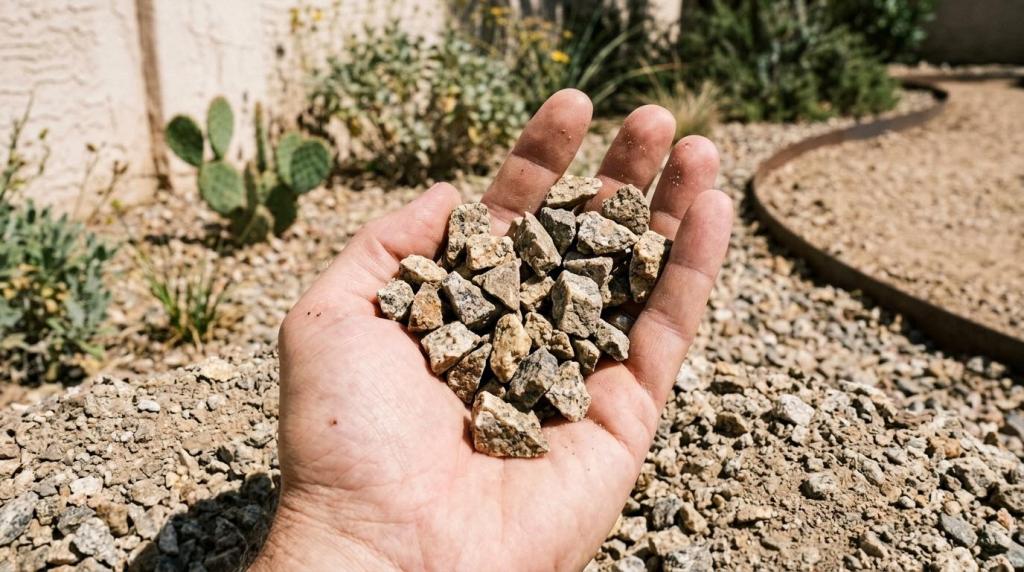
Because our company is built around full-service outdoor work, we can also account for surrounding conditions that affect the installation. If your project needs land grading, gravel, irrigation adjustments, timer installation, landscape lighting, or nearby fence and block wall work, Pro Natural Landscape can keep those needs in view instead of treating the surface area in isolation.
“Pro Natural Landscape is licensed and insured, and the team is available Monday through Saturday, 7am to 5pm.”
That broader view is valuable when you want fewer handoffs, clearer communication, and a finished result that feels coordinated. It is also helpful if you are managing a residential property, a rental, an HOA-related upgrade, or a commercial exterior where appearance and function both matter.
Why Sun City customers choose Pro Natural Landscape for brick and tile work
Pro Natural Landscape is a family-owned company, and that local ownership shows up in how we approach your project. You are not dealing with a remote lead service or a company that only handles one narrow trade and leaves you to coordinate the rest.
Our work is a good fit when you want:
- A local company: Pro Natural Landscape is based at 12926 West Redfield Rd, El Mirage, AZ 85335 and actively serves Sun City and nearby communities.
- Outdoor hardscape experience: We offer tile installation, thin brick installation, paver installation, paver sealing, and related exterior services in one place.
- Practical project support: Free estimates and financing through Hearth make it easier to plan work without guessing at next steps.
Pro Natural Landscape is also a strong choice when your brick or tile project is part of a bigger exterior improvement. If you are updating a patio and also need artificial grass, tree removal, lighting, gravel, or exterior repairs nearby, we can help you move the whole project forward with one team.
When Pro Natural Landscape is the right fit for your Sun City brick or tile project
You are likely a strong fit for Pro Natural Landscape if you want a contractor who can install the surface and understand the surrounding property conditions. That includes homeowners improving outdoor living areas, property managers upgrading walkways or common-use spaces, and businesses that want a more finished exterior presentation.
We are especially relevant when your project needs a balance of appearance, durability, and coordination with other outdoor features. Pro Natural Landscape does not treat brick or tile as an isolated product. We treat it as part of how your property functions, looks, and is maintained over time.
If you already know you want brick, tile, or pavers but still need help deciding on the best material or layout, that is a good time to contact us. If you know the exact surface you want and need a local licensed and insured team to install it in Sun City, that is also where Pro Natural Landscape fits.
Get a free estimate for brick and tile installation in Sun City, AZ
If you are ready to upgrade a patio, walkway, driveway, courtyard, or entry area, Pro Natural Landscape can help you plan the right brick, tile, or paver solution for your Sun City property. We serve the area from our El Mirage base, offer free estimates, and provide financing options through Hearth for qualifying projects.
Reach out to Pro Natural Landscape to discuss your space, your material preferences, and the result you want. We will help you turn an unfinished or outdated exterior area into a hardscape that looks cleaner, works better, and fits the rest of your property.