

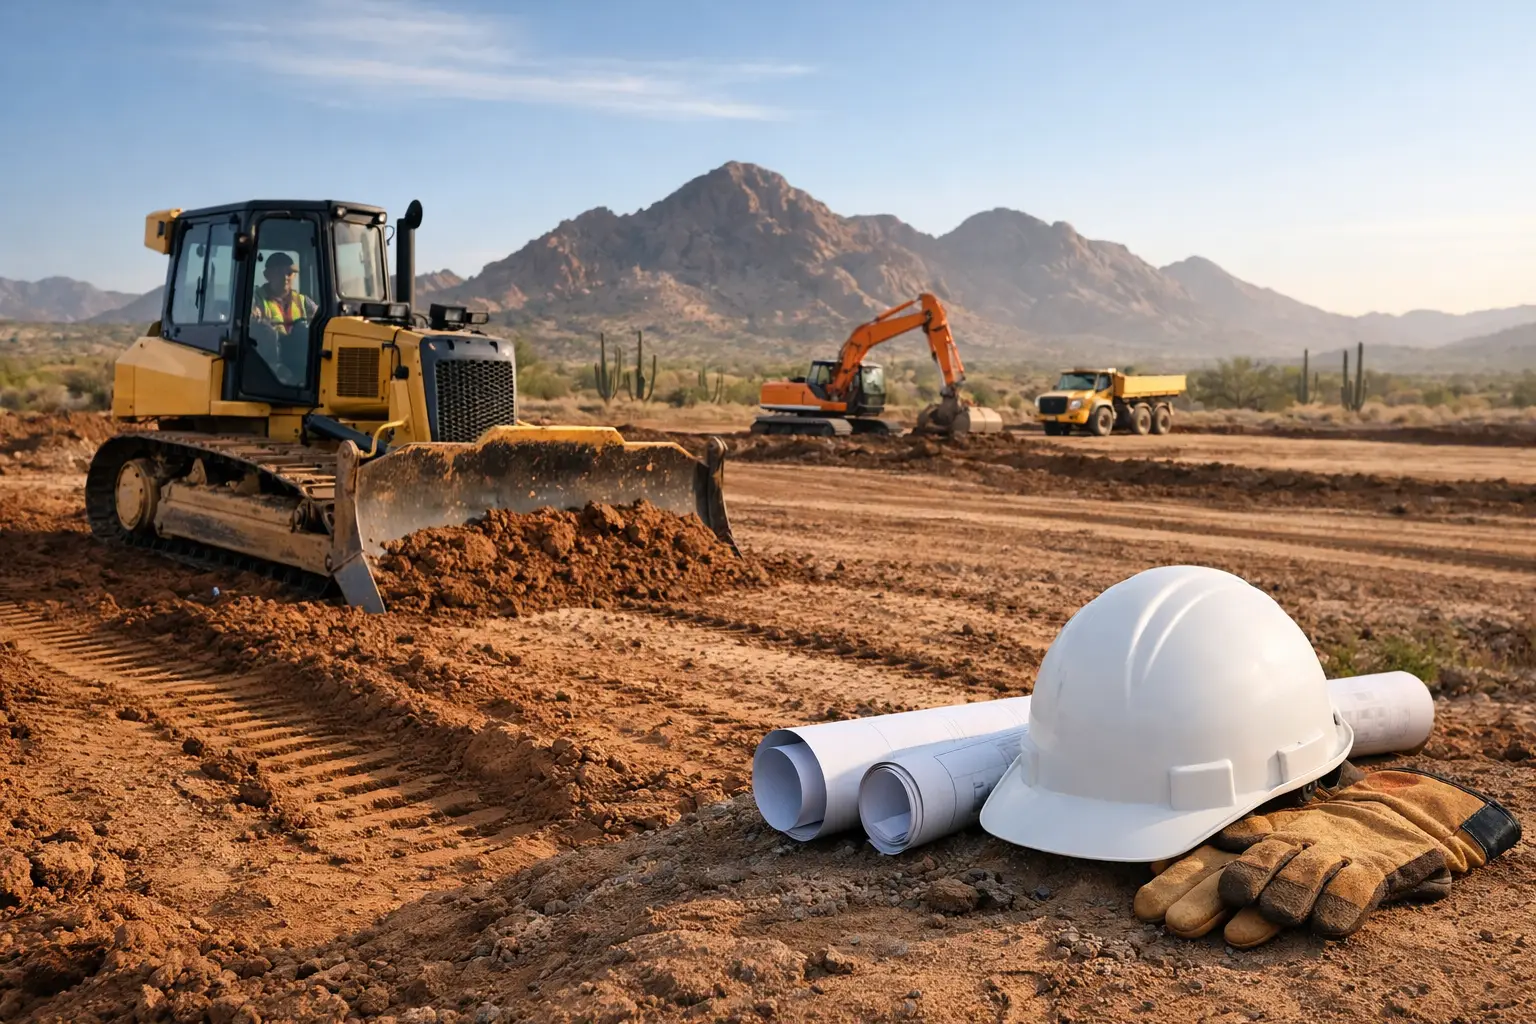
A yard can look level and still send water straight toward a home, leave puddles beside a patio, or create low spots that ruin gravel and artificial turf. Knowing how to prepare for land grading before equipment arrives helps prevent those expensive problems. For Arizona property owners, grading is not just about making a yard look clean. It is about directing monsoon runoff, protecting foundations, supporting hardscape, and creating a surface that works with the desert climate.
Land grading is a practical first step for new landscape installations, paver patios, artificial grass, gravel yards, drainage corrections, and commercial exterior improvements. The preparation work determines whether the finished space drains properly and stays functional over time.
Start With the Purpose of the Grade
Before moving soil, define what the grading needs to accomplish. A backyard being prepared for artificial grass has different requirements than a front yard being reshaped for decorative gravel. A paver driveway, block wall, or patio also needs a carefully planned base and drainage path.
Walk the property after irrigation or rain if possible. Look for standing water, erosion lines, washed-out gravel, damp areas near the foundation, and places where water crosses walkways. These visible signs reveal where the existing grade is failing.
The goal is usually to move water away from structures and toward an appropriate drainage area. That does not mean every part of the yard needs to be perfectly flat. In fact, a completely flat yard often holds water. A controlled, gradual slope is usually the better solution.
For homes, the finished grade should generally fall away from the foundation. The exact slope depends on the property layout, soil conditions, drainage features, and local requirements. Commercial properties may need additional planning around parking areas, sidewalks, accessibility, catch basins, and neighboring parcels.
Check Property Lines, Utilities, and Drainage Restrictions
Do not treat land grading as a simple dirt-moving project. Start by confirming the property boundaries and identifying anything below or above the ground that could affect the work. This includes irrigation lines, electrical wiring for landscape lighting, gas lines, sewer connections, septic components, pool plumbing, and existing drainage pipes.
Utilities must be located before digging or running grading equipment. Even a shallow cut can damage an irrigation main line or low-voltage landscape wire. If you are planning a major change in elevation, check whether the work could affect fences, retaining walls, shared drainage routes, or a neighbor’s property.
Arizona communities and HOAs may also have rules for drainage changes, wall construction, and front-yard modifications. Water cannot simply be redirected into an adjacent yard or toward a public sidewalk. A proper plan accounts for where runoff will go after the grade is changed.
Clear the Site Before Grading Begins
Grading equipment works best on a clear, accessible site. Remove loose debris, old landscape materials, dead plants, scrap lumber, unused edging, and anything else that could interfere with the work. Large rocks, buried concrete, tree stumps, and abandoned irrigation parts should be addressed before final grading starts.
Trees and mature shrubs deserve extra attention. Their root systems can extend far beyond the visible canopy, and changing the surrounding soil level too much can affect their health. If a tree is being removed, stump grinding and root cleanup should happen before the area is graded and compacted.
Existing turf may need to be removed, especially if the project includes artificial grass, pavers, gravel, or a new irrigation layout. Leaving organic material beneath a finished surface can lead to settling later. The same is true for old mulch, decomposed landscape fabric, and soft pockets of soil.
Access matters too. A grading crew may need room for a skid steer, compacting equipment, delivery truck, or soil haul-off. Move vehicles, protect gates, and make sure the route to the work area is clear. Tight side yards may require smaller equipment or more hand work, which can affect the project timeline and cost.
Identify Soil Conditions and Elevation Changes
Arizona soil is not all the same. Some properties have dense caliche, while others have sandy soil, loose fill, rocky ground, or compacted construction debris. These conditions affect how easily soil can be cut, moved, compacted, and shaped.
Caliche can provide a firm base in some areas, but it can also be difficult to excavate and may prevent water from soaking into the ground. Loose fill can settle after new landscaping is installed. Soil that has been overwatered or disturbed by previous construction may need to be reworked before it can support pavers, turf, or gravel.
This is where professional site evaluation pays off. The right approach may involve removing excess soil, bringing in base material, compacting weak areas, or creating a drainage swale. It depends on the existing grade and the finished landscape plan.
If your property has a major drop in elevation, grading alone may not be enough. A retaining wall, block wall, or terraced landscape design may be needed to hold soil in place safely. Trying to create a steep slope without proper support can lead to erosion and ongoing maintenance issues.
Plan the Finished Surface Before Moving Dirt
Grading should support the final landscape, not happen separately from it. Decide where patios, walkways, artificial grass, gravel beds, plants, irrigation zones, drainage channels, and lighting will go before the soil is shaped.
For example, pavers need a stable, compacted base and a slight slope that moves water away from the home. Artificial grass needs a smooth, compacted sub-base that drains without creating dips. Gravel needs edging and a prepared surface so material does not wash into walkways or collect against walls.
Irrigation is another key consideration. Grading can change how water flows across planting areas and where irrigation heads should be placed. A system that worked before may become inefficient after the yard is reshaped. Planning irrigation at the same time helps avoid digging up a finished surface later.
Keep finished elevations in mind around doors, gates, patios, and exterior walls. Raising the soil level too high can create clearance problems, cover weep screeds, or allow water to collect near the structure. The best grade is one that looks natural while keeping every transition functional.
How to Prepare for Land Grading With Proper Drainage
Drainage is the part of land grading that should never be guessed. In Arizona, long dry periods can make a yard seem fine until a heavy monsoon storm exposes every low spot. Water moves quickly across hard, dry ground, especially where roofs, patios, driveways, and compacted soil limit absorption.
A drainage plan may include a gentle swale, a defined channel, drain rock, catch basins, or connection to an existing approved drainage route. The right option depends on the volume of water, the property slope, soil type, and nearby structures.
Avoid creating a grade that sends runoff toward a pool, garage, entryway, or neighbor’s fence line. Also avoid trapping water behind walls or in narrow side yards. These areas can become erosion zones and may cause long-term damage to hardscape or foundations.
After rough grading, test the drainage path before installing the final surface. Water from a hose can help reveal whether a low area needs more adjustment. This simple check is much easier before gravel, turf, pavers, or plants are in place.
Expect Compaction and Final Adjustments
Once the soil has been cut and shaped, it needs to be compacted where appropriate. Compaction creates a more stable surface for pavers, artificial grass, gravel, and other landscape features. Without it, the ground can settle, causing uneven surfaces, shifting edging, and drainage problems.
Compaction is not one-size-fits-all. Planting areas need soil that can support healthy roots, while hardscape bases require firmer, properly layered materials. A good grading crew knows where to create stability and where to preserve suitable growing conditions.
Final grading is the finish work. It includes smoothing the surface, correcting minor high and low spots, checking transitions near hardscape, and confirming that water moves in the intended direction. This is the stage that makes the difference between a yard that merely looks improved and one that performs well through heat, irrigation, and seasonal storms.
When Professional Grading Is the Better Choice
Small surface adjustments can sometimes be handled by a homeowner, but larger grading projects call for the right equipment and experience. If water is reaching the foundation, a yard has major elevation changes, soil needs to be hauled away, or a new patio, wall, turf area, or irrigation system is planned, professional grading is usually the safer investment.
Pro Natural Landscape can coordinate grading with the next phase of your outdoor project, whether that means gravel installation, pavers, artificial grass, irrigation, or drainage improvements. Working from one site plan helps reduce rework and keeps the finished yard looking clean and intentional.
A properly prepared grade gives every part of your landscape a better foundation. Address the water flow and soil conditions first, then build the outdoor space you want with confidence.