

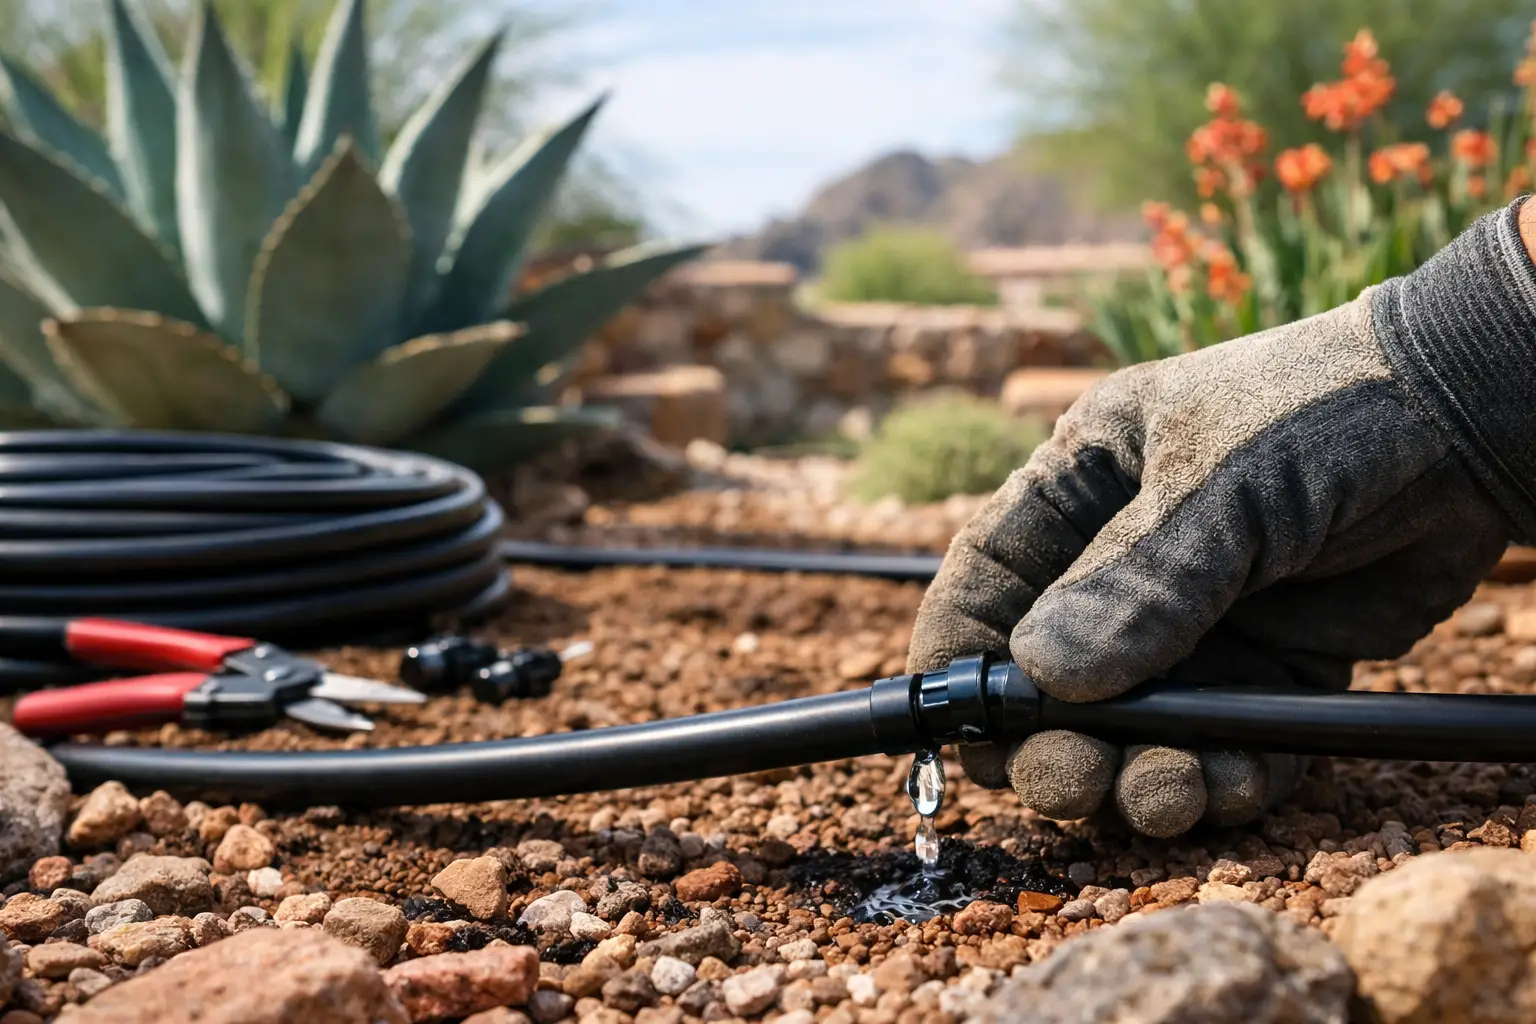
A thirsty citrus tree, a row of heat-stressed shrubs, and a patchy lawn should not all receive the same amount of water. That is where homeowners often lose water and still end up with an unhealthy yard. When you install drip irrigation correctly, water reaches the root zones of your trees, plants, and ground cover at a controlled rate instead of running off gravel, pavers, or compacted Arizona soil.
For Arizona properties, drip irrigation is one of the most practical upgrades you can make. It supports desert-friendly landscaping, reduces waste, keeps water off hardscape surfaces, and makes routine yard care easier. The system has to be planned around your plant material, water pressure, soil, and existing irrigation setup. Simply running one drip line through every planting bed is not enough.
Why Install Drip Irrigation Instead of Using Sprinklers?
Sprinklers have a place, especially for natural turf, but they are not the right choice for most trees, shrubs, cactus, flowering plants, or landscape beds. Overspray is common around gravel, walls, driveways, artificial grass, and pavers. In hot or windy conditions, some of that water never reaches the soil where plants need it.
Drip irrigation applies water slowly at or near the root zone. This gives the soil time to absorb moisture and can reduce runoff. It also helps limit weed growth in dry areas because you are not wetting the entire surface of a bed. For commercial properties and busy homeowners, that means a cleaner-looking landscape with less wasted water.
There is a trade-off. Drip systems need filters, pressure regulation, and periodic inspection. A broken emitter or clogged line can go unnoticed longer than a damaged sprinkler head. Proper installation and seasonal checks are what make the system dependable.
Plan the Irrigation Zones Before Digging
The most important work happens before the tubing goes in. Walk the property and identify what needs water, how much sun each area receives, and whether plants have similar watering needs. A mature shade tree should not be placed on the same schedule as newly planted flowers. A cactus garden should not receive the same frequency as citrus or tropical plants.
Create separate zones when the water needs are clearly different. In many Arizona yards, turf is kept on its own sprinkler or high-efficiency rotary zone, while trees, shrubs, and planting beds use drip. Separate citrus, vegetable beds, and high-water-use plants from low-water desert plants whenever possible.
Pay attention to soil as well. Caliche and heavily compacted soil absorb water slowly, so drip emitters may need lower flow rates, wider spacing, or shorter cycle times. Sandy soil drains faster and may require more frequent watering with longer runtimes. Grade matters, too. On a slope, use pressure-compensating emitters and place lines carefully so lower areas do not receive more water than upper areas.
Use the Right Parts for a Reliable System
A drip system needs more than tubing and emitters. At the point where irrigation water enters the drip zone, install the equipment needed to protect the system and manage pressure. This commonly includes a backflow prevention device where required, a filter, and a pressure regulator. Drip tubing operates at much lower pressure than typical sprinkler systems, and excessive pressure can cause fittings to separate or emitters to perform unevenly.
Use durable poly tubing as the main supply line, then run smaller distribution tubing only where it is needed. Secure connections with compatible fittings, clamps, and end caps. In exposed Arizona landscapes, burying or covering tubing with mulch or gravel can protect it from sunlight, foot traffic, pets, and yard equipment. Do not bury connections so deeply that future repairs become difficult.
Choose emitters based on the plant and soil conditions. Low-flow emitters work well for small plants and slow-draining soils. Larger trees typically need multiple emitters spread around the root area rather than one emitter at the trunk. Pressure-compensating emitters are often worth the added cost on long runs or sloped properties because they provide more consistent output.
How to Install Drip Irrigation Step by Step
Start by turning off the water to the irrigation zone. If you are converting an existing sprinkler zone, remove the sprinkler head at the appropriate connection point and install a conversion assembly designed for drip. If the project involves a new valve, controller wiring, or backflow work, make sure the installation follows local requirements and is set up for future service.
Install the filter and pressure regulator in the correct flow direction. The filter should be easy to access because it will need cleaning. Run the mainline tubing from the source through the planting areas, keeping it near the plants without creating sharp bends or crossing future work areas. Lay the tubing in the sun for a short time before installation if it is stiff. Warm tubing is easier to straighten and fit.
Use fittings to branch the mainline into each bed or plant area. Keep the layout simple. A clean, direct route is easier to troubleshoot than a network of unnecessary connectors. Stake the tubing in place as you go, especially around curves and at fittings.
Once the mainline is positioned, install emitter tubing or punch emitters directly into the supply line where appropriate. Place emitters on level soil near the active root zone, not against a trunk, stem, or foundation. For plants installed in gravel, keep the emitter accessible enough to inspect and adjust later.
Before closing the system, flush the lines. Leave the ends open, turn the water on briefly, and allow dirt or plastic shavings to run out. Then cap the lines, activate the zone, and check every connection. Look for leaks, dry emitters, excessive spray from broken fittings, and tubing that shifts under pressure.
Place Emitters Where Roots Can Use the Water
Emitter location has a direct effect on plant health. New shrubs and small plants need water close to their initial root ball, but the wet area should expand as they establish. Move or add emitters outward over time rather than keeping all water concentrated at the base.
For trees, avoid placing a single emitter at the trunk. Spread several emitters around the tree, beginning outside the trunk area and extending toward the canopy edge as the tree matures. This encourages roots to grow outward and provides a more stable water pattern. Large trees may need a wider drip ring or multiple runs of tubing.
Keep drip emitters away from block walls, patios, foundations, and paver edges when possible. Constant moisture in the wrong location can contribute to settling, staining, or unwanted plant growth. If you are installing new gravel, artificial grass, or pavers, coordinate irrigation placement before the final surface materials go down.
Program for the Season, Not for Convenience
A drip system is only efficient when the controller schedule matches the weather and the plants. Arizona landscapes usually need longer and more frequent watering during extreme summer heat, then substantially less water in cooler months. Newly installed plants also need more attention than established drought-tolerant material.
Run times depend on emitter flow, the number of emitters, soil type, and plant size. Instead of setting one long schedule and forgetting it, inspect the soil after a cycle. Moisture should reach the root zone without creating standing water or constant soggy spots. In slow-draining soil, cycle-and-soak scheduling can help: run the zone for a shorter period, pause, then run it again so water can soak in.
Adjust the controller after seasonal rains and before summer temperatures climb. A smart controller can help, but it still needs correct zone setup and occasional review.
Common Drip Irrigation Mistakes to Avoid
The most common mistake is putting every landscape area on one zone. That forces low-water plants and thirsty plants to compromise, usually wasting water or stressing one group. Another frequent problem is skipping the filter and pressure regulator. Those parts are not optional extras when you want a system that lasts.
Do not cover emitters so heavily with gravel or mulch that they cannot be found. Avoid running lines directly against sharp paver edges or leaving tubing exposed where it can be cut by trimmers. Finally, do not assume a system is working just because the controller is running. Walk the yard during irrigation at least once a month.
Keep the System Working Through Arizona Heat
Clean filters regularly, especially after system repairs or dusty landscape work. Check emitter flow, inspect tubing for sun damage or rodent damage, and replace clogged emitters instead of guessing at the cause of a dry plant. Flush the lines at least seasonally and after any major modification.
If your yard includes trees, gravel beds, artificial grass, hardscape, lighting, or drainage concerns, the irrigation layout should work around the complete outdoor plan. Pro Natural Landscape can help property owners install, repair, and adjust irrigation as part of a practical landscape upgrade.
The best drip system is not the one with the most tubing. It is the one that delivers the right amount of water to each plant, stays accessible for maintenance, and protects the investment you have made in your Arizona outdoor space.